
A few mornings ago I woke up and had a thought that I’m sure most people have,
“It sure would be nice to have a bear skin up on my wall!”
I immediately started figuring out the best way to do so…
I’ve always wanted to “Pet the furry wall.” 😉
I quickly concluded:
- a real bear skin was out of the question
- I’d need to ‘DIY’ it
My first step – to find inspiration on Pinterest on how to make this “dream” happen…After finding some inspiration, I had to add my own spin to it.
Let’s Begin:
1. Find a Rug
I ended up finding a good quality 5×7 shag rug on KSL classifieds for $60
(If I did it again, I’d get a darker brown but I couldn’t be too picky with the price)

2. Get Supplies
You’ll need a cutter/board and clear 100% silicone caulk/gun
(I didn’t care to put much time into researching better carpet glues, etc. so be aware there may be better options.)

I ended up using only half the silicone tube (~5oz.) so you could just use a smaller hand squeeze tube without the need for the caulk gun. Because of the dense fur of the carpet, I didn’t really need the cutting board either, however it gave me the peace of mind that I wasn’t going to cut into the flooring underneath.
3. Draw Your Shape

There’s 2 ways to do this:
Free Hand (like I did) or with a Template. If I had a re-do, I’d allow more space in the detail areas and get a better form on the arms and legs. As you’ll see later, the details areas (tail, head) are harder to see since the “fur” is so long. With a shorter hair carpet, you’d be just fine.
4. Cut Shape
Start at the bottom. It’s the area with the least detail, meaning you get a good feel to how it cuts.

My carpet base was nice and thin so the razor sliced right through, be careful if your rug has a thicker base. The “heavy duty” razor is rated for 60mm. I found the best way to cut was with both hands at a 45 degree angle (straight). Make sure you do not “saw” cut as this will loosen the fibers on the edges, requiring larger amounts of caulk/glue to repair.
Pulling apart the hair was difficult as I wanted to avoid fraying the edges…as time went on however, I lost patience and started to rip them free. Turned out just fine, be cautious though.

5. Caulk Edges
The reason for this is to keep the newly cut edges from fraying and unraveling. Before you start caulking the edges, tuck the hair underneath and away from the edge to avoid it clinging to your finger or tool. I’d advise using your finger as you have more control and can feel which parts have been covered in caulk and which have not. Obviously, this step is more important if it will be in a high traffic area.
Apply the bead of caulk along the top-side of the edge. You’ll then use your finger to push it over the edge and pull back as you scrape the excess off with the edge. Dabbing it on doesn’t work, it needs to be covered and pushed into the fibers. Don’t get ahead of yourself, you’ll need to be patient and do one inch at a time. Do each section (bottom, side, top) one at a time. When you’re done with each section, wipe off your finger and caulk the next area.
6. Add “Gription”
Whether you’re hanging it above your bed or on your foyer floor, you’ll want to keep it from sliding too much. Just squeeze a bit more caulk from arm to leg on both sides.

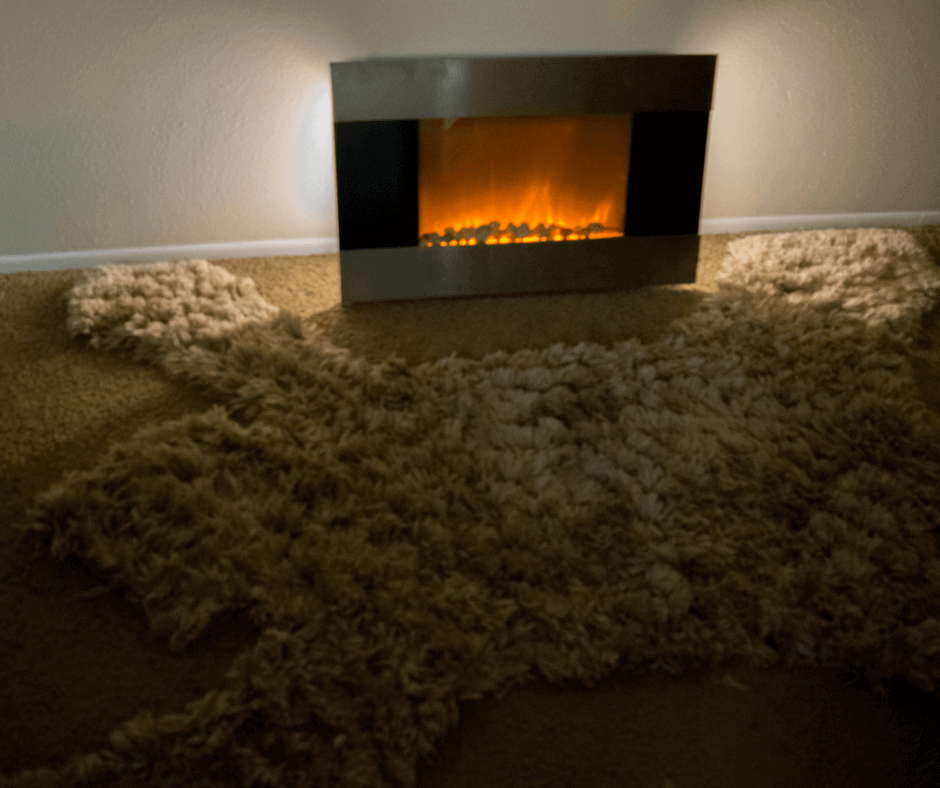
7. Find a Place to Put it
Add eyes and claws and you’re ALL DONE!

Just kidding, here ya go:

The form could be improved and I intentionally left enough material to make alterations but I’ll leave that for later.
The possibilities of places to put your bear are endless 😉

8. How to Use Your Scraps (Bonus)
It’s a shame to throw away such nice material, so here’s some “amazing” ideas!
*I’m semi-kidding

- The coffee table rug
- The office feet comforter
- The door mat
- The kitchen runway rug
*Some have questioned my decision to cut up such a nice rug and my answer is that it’s better to get some use out of it rather than have it rolled up in storage somewhere. It’s also the first thing people notice and a great conversation starter when people are over.